

1
of
3
Personalised Airplane Kids Sticker
Reference: A4810
From
Rp59900
Information Personalised Airplane Kids Sticker
Personalised Airplane Kids Sticker
Elevate your child's room to new heights with our Customised Name Airplane Kids Sticker! This delightful design combines the thrill of flying with the personal touch of customisation. Watch as your little pilot's imagination takes flight with their name proudly displayed on this charming airplane decal!
Why This Easy-To-Apply Kids Decal Should Be Used For Decoration
Embark on a journey of imagination with our children's airplane sticker! Imagine the excitement on your child's face as they see their very own name soaring among the clouds on this whimsical airplane. This sticker is not just a decoration; it's an inspiration for dreams of adventure, exploration, and endless possibilities!
How to Apply This Child's Room Decal
Bringing the magic of flight to your child's room is a breeze with our custom name kids bedroom wall decal! Begin by preparing a clean, smooth surface where the airplane will take off. Carefully peel the sticker from its backing, ensuring the delicate details of the airplane are intact. Position it on the wall, gently smoothing out any bubbles with a soft cloth. In moments, the room transforms into a sky-high adventure zone!
Where This Airplane Wall Art Can Be Placed For A Perfect Decor
Discover the perfect spot for your child's imagination to take flight with our personalised name airplane decal! Place it above the bed, where dreams of soaring through the clouds can take root. Or adorn the play area, turning it into an airport of creativity and fun. Wherever it lands, this imaginative wall decor adds a touch of personalisation and joy to your child's space!
Product Features:
- Vibrant non-woven wallpaper in a range of captivating colours
- Easy application using glue on the wall or directly on the product
- Tools needed: roller, brush, cutter for precise placement
- Cleaning is a breeze with a damp cloth and mild soap
- 180 grams per square meter for durability and quality
- Lasts 10-15 years, ensuring years of high-flying adventures
- Removal is easy with a sprayer, leaving no residue behind
- Design repetition every 50cm for flexible placement
- M2 fire rating for added peace of mind
Turn your child's room into a runway of imagination with our Personalised Airplane Kids Sticker. Let their name soar among the clouds, inspiring dreams of adventure and discovery!
Buy now at a discount!

You may also need
Material: Self-adhesive polyvinyl chloride (PVC)
Thickness: Between 75–90 microns
Composition: 100% PVC
Temperature resistance: -50ºC to 90ºC
Custom-made: Choose the size you want, and we’ll adapt the design accordingly. If the desired size is smaller than the minimum shown on the website, please contact us by phone or email.
Fully customisable: If you’d like to modify any part of the design, feel free to contact us.
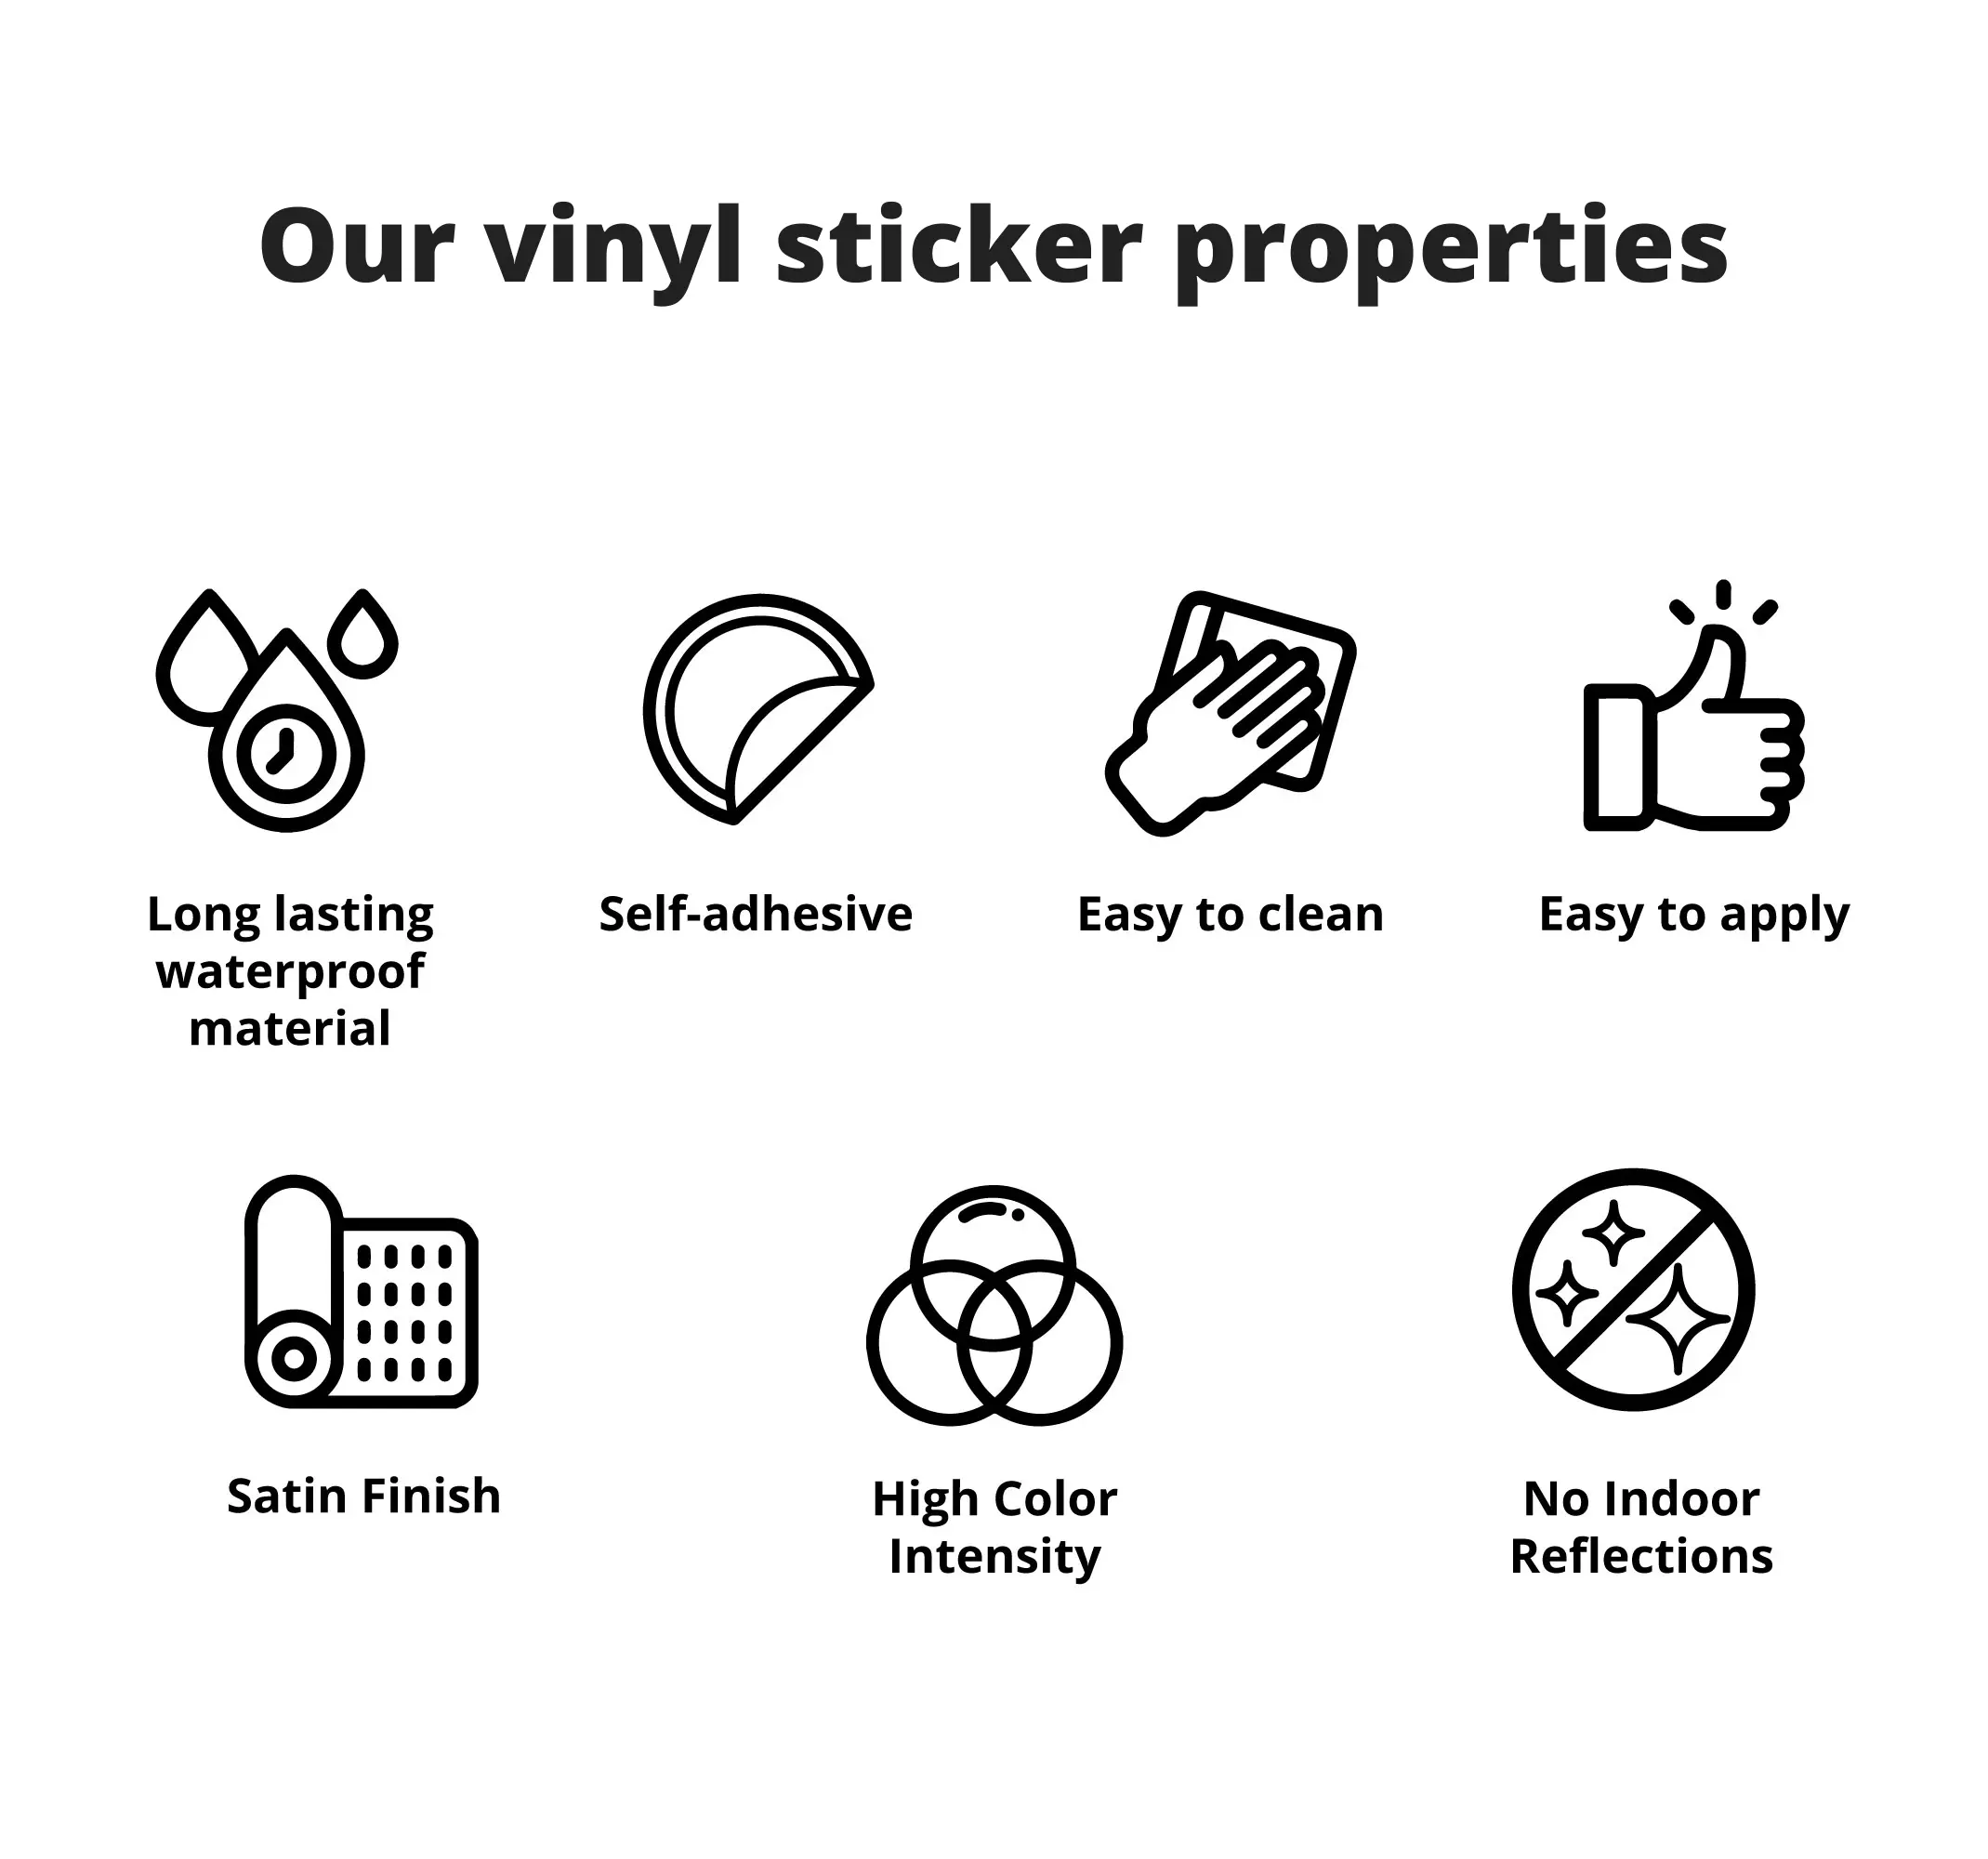
For indoor and outdoor use: Waterproof and moisture-resistant material.
Suitable surfaces: Any flat, smooth surface (walls, furniture, vehicles, windows, etc.)
Unsuitable surfaces: Rough or textured walls and fabrics. (If in doubt, you can send us a photo of your surface so we can confirm whether it’s suitable or not.)
Available finishes:
1.Semi-matte (satin): Non-glossy finish that prevents reflections and gives a modern, elegant look. It softly enhances colors and hides fingerprints or small imperfections.
2.Translucent: Lets some light through without being completely transparent, providing privacy without darkening the space — ideal for windows or partitions.
3.Fluorescent: Bright, vivid colors that glow under natural or artificial light. Increases visibility and attracts attention — perfect for signage or bold decorative designs.
4.Metallic gold and silver: Shiny, reflective finish similar to metal. Adds a sophisticated, eye-catching touch — ideal for decorative accents or elegant logos.
Easy to clean: Washable with water and mild soap (avoid harsh cleaners).
Application spatula available: on our website.
Eco-friendly printing: Stickers with printed images are made using HP eco-friendly inks.
100% secure payment methods
Thickness: Between 75–90 microns
Composition: 100% PVC
Temperature resistance: -50ºC to 90ºC
Custom-made: Choose the size you want, and we’ll adapt the design accordingly. If the desired size is smaller than the minimum shown on the website, please contact us by phone or email.
Fully customisable: If you’d like to modify any part of the design, feel free to contact us.
For indoor and outdoor use: Waterproof and moisture-resistant material.
Suitable surfaces: Any flat, smooth surface (walls, furniture, vehicles, windows, etc.)
Unsuitable surfaces: Rough or textured walls and fabrics. (If in doubt, you can send us a photo of your surface so we can confirm whether it’s suitable or not.)
Available finishes:
1.Semi-matte (satin): Non-glossy finish that prevents reflections and gives a modern, elegant look. It softly enhances colors and hides fingerprints or small imperfections.
2.Translucent: Lets some light through without being completely transparent, providing privacy without darkening the space — ideal for windows or partitions.
3.Fluorescent: Bright, vivid colors that glow under natural or artificial light. Increases visibility and attracts attention — perfect for signage or bold decorative designs.
4.Metallic gold and silver: Shiny, reflective finish similar to metal. Adds a sophisticated, eye-catching touch — ideal for decorative accents or elegant logos.
Easy to clean: Washable with water and mild soap (avoid harsh cleaners).
Application spatula available: on our website.
Eco-friendly printing: Stickers with printed images are made using HP eco-friendly inks.
100% secure payment methods
You will receive your sticker carefully rolled inside a protective cardboard tube. The tube has a white cap secured with staples, which you should remove before taking out the sticker.
Stickers that are A4 size or smaller are shipped in padded envelopes with bubble wrap for protection.
Stickers with cut-out designs or separate parts will be shipped with transfer paper to make application easier. One-piece stickers or those with simple shapes will not include transfer paper, as they can be easily applied without it.
This tutorial explains clearly and precisely how to apply decorative stickers, answers common questions and provides contact options in case of any issues.
You’ll need: A spatula or similar tool (credit card, ID card) and a clean cloth.
What’s included: The sticker and accessories in protective packaging, plus a free sample sticker so you can test adhesion and application. If you’re not applying it immediately, store the sticker flat.
Surface preparation: The surface must be dry, clean (free from dust, liquids or stains), smooth, and non-porous. Plastic paint is recommended for walls. Wait 4–6 weeks if the wall was recently painted. Clean with water or alcohol - never with glass cleaner. Chalkboard stickers require an absolutely smooth surface. Unroll and press the sticker upon arrival.
Application steps (Opaque surfaces):
Unroll the sticker and check it’s complete.
Firmly press the transfer paper onto the sticker (especially on small details).
Measure and position it on the wall.
Fold back about 5 cm of the top backing paper.
Fix the top part of the sticker to the wall.
Remove the backing paper and apply the sticker using the squeegee, working from the center outward.
Rub over the transfer paper again to ensure good adhesion.
Remove the transfer paper slowly at a 180° angle. (Some stickers don’t include transfer paper.)
Application on glass (with water and soap):
Spray the glass with a mix of water and mild soap (not glass cleaner).
Wipe to remove any dust or residue.
Spray again with the mixture.
Apply the sticker (it will be movable at this stage) and use the squeegee to remove excess liquid.
Let it dry for 12–24 hours. If transfer paper is included, remove it after drying.
Standard 15 days home delivery.
Express delivery within 72 hours to your home address available.
Express delivery within 72 hours to your home address available.
These shipping conditions are indicative and non-binding. The final delivery times and costs will be shown when selecting the final delivery address and transport agency.
Surface:
Wall Decor
4.9 / 5
of 40 happy customers
Ratings
Reviewed in
 the
16/02/2026
at
20:40 h
the
16/02/2026
at
20:40 h
the
16/02/2026
at
20:40 h
Reviewed in
 the
11/11/2025
at
15:21 h
the
11/11/2025
at
15:21 h
the
11/11/2025
at
15:21 h
Reviewed in
 the
18/08/2025
at
06:46 h
the
18/08/2025
at
06:46 h
the
18/08/2025
at
06:46 h
Reviewed in
 the
17/05/2025
at
01:13 h
the
17/05/2025
at
01:13 h
the
17/05/2025
at
01:13 h
Reviewed in
 the
21/02/2025
at
14:50 h
the
21/02/2025
at
14:50 h
the
21/02/2025
at
14:50 h
Reviewed in
 the
10/11/2024
at
01:57 h
the
10/11/2024
at
01:57 h
the
10/11/2024
at
01:57 h
Reviewed in
 the
20/08/2024
at
13:49 h
the
20/08/2024
at
13:49 h
the
20/08/2024
at
13:49 h
Reviewed in
 the
17/05/2024
at
06:20 h
the
17/05/2024
at
06:20 h
the
17/05/2024
at
06:20 h
Reviewed in
the
14/05/2021
at
08:48 h
Grande variedade de produtos e de excelente qualidade. Agradavelmente surpreendida com o site e com o que comprei.
the
14/05/2021
at
08:48 h
Reviewed in
the
04/12/2020
at
16:34 h
Muy buen trabajo, y muy rápido
the
04/12/2020
at
16:34 h
Reviewed in
the
05/06/2019
at
08:31 h
Preciosos y de buena calidad. Gracias. Volveré a repetir
the
05/06/2019
at
08:31 h
Reviewed in
the
29/12/2018
at
23:26 h
the
29/12/2018
at
23:26 h
Reviewed in
the
05/10/2018
at
09:47 h
Todo impecable! Volverè a comprar sin duda
the
05/10/2018
at
09:47 h
Reviewed in
 the
18/09/2018
at
20:56 h
muy buena calidad de productos, colores destacan bien, mejoraría información del despacho
the
18/09/2018
at
20:56 h
muy buena calidad de productos, colores destacan bien, mejoraría información del despacho
the
18/09/2018
at
20:56 h
Reviewed in
the
17/09/2018
at
16:44 h
Muito rápido na entrega e tudo conforme a encomenda. Completamento satisfeito com o resultado final.
the
17/09/2018
at
16:44 h
Reviewed in
the
31/10/2017
at
09:30 h
Serviço rápido e de qualidade! Recomendo e vou concerteza utilizar mais vezes.
the
31/10/2017
at
09:30 h
Reviewed in
the
29/03/2017
at
13:16 h
Muito bom.
the
29/03/2017
at
13:16 h

Reviewed in
the
21/11/2016
at
18:16 h
O site está muito claro, a encomenda chegou muito rapidamente e gostei muito da qualidade.
the
21/11/2016
at
18:16 h
Reviewed in
the
05/07/2016
at
16:16 h
Muy buen servicio, fue rápido y la verdad es que ha quedado muy bien.
the
05/07/2016
at
16:16 h
Reviewed in
the
21/06/2016
at
16:17 h
the
21/06/2016
at
16:17 h