


Cute Bird Design customise roller blind
Reference: E3733A joyful yellow bird perched on a branch surrounded by pink hearts and flowers. This charming design features a playful ambiance, capturing affection and cheerfulness, ideal for personalization.
Introducing our Cute Bird Design customise roller blind, a cheerful addition to your home decor! Featuring adorable illustrations of a chick surrounded by hearts and flowers, this delightful design brings a touch of whimsy and warmth to any room. With customizable options, you can even add your own name, making it uniquely yours. The vibrant yellow hues and charming cartoon style ensure that this roller blind will brighten your space and uplift your spirits!
Why this product should be used for decoration
The Cute Bird Design customise roller blind is perfect for anyone looking to enhance their home aesthetics. Not only does it protect your room from direct sunlight, but it also adds a playful touch that instantly livens up your decor. Imagine how wonderful it would be to have a custom roller blind that reflects your personality while providing privacy and style. This is more than just a window covering; it's an expression of joy!
How to install this product
Installing the Cute Bird Design customise roller blind is a breeze! With easy assembly in just 2 clicks, you can transform your space in no time. Simply follow the straightforward instructions to enjoy your new decorative piece.

THERMAL INSULATION - Reduces cold enter
PRIVACY - Allows you to see without being seen
SAFETY - Protects from the sun's rays
ACOUSTIC INSULATION - Reduces the transfer of noise
CUSTOMISABLE SIZES - 100% made to measure
EASY PLACEMENT - On the wall or ceiling
EASILY CLEANED - With damp cloth and neutral soap
Custom roller blinds are a modern and inexpensive alternative to decorate any window. The installation and assembly of Tensticker blinds is very easy, you can do it yourself without investing too much effort and time. Please note that our blinds come fully assembled and only require installation of the brackets.
RECOMMENDED MATERIAL1. Ruler and carpenters ruler.
2. Spirit level
3. Drill to make fixing holes.
4. Hammer and screwdriver
5. Screws and dowels for fixing the blind support.
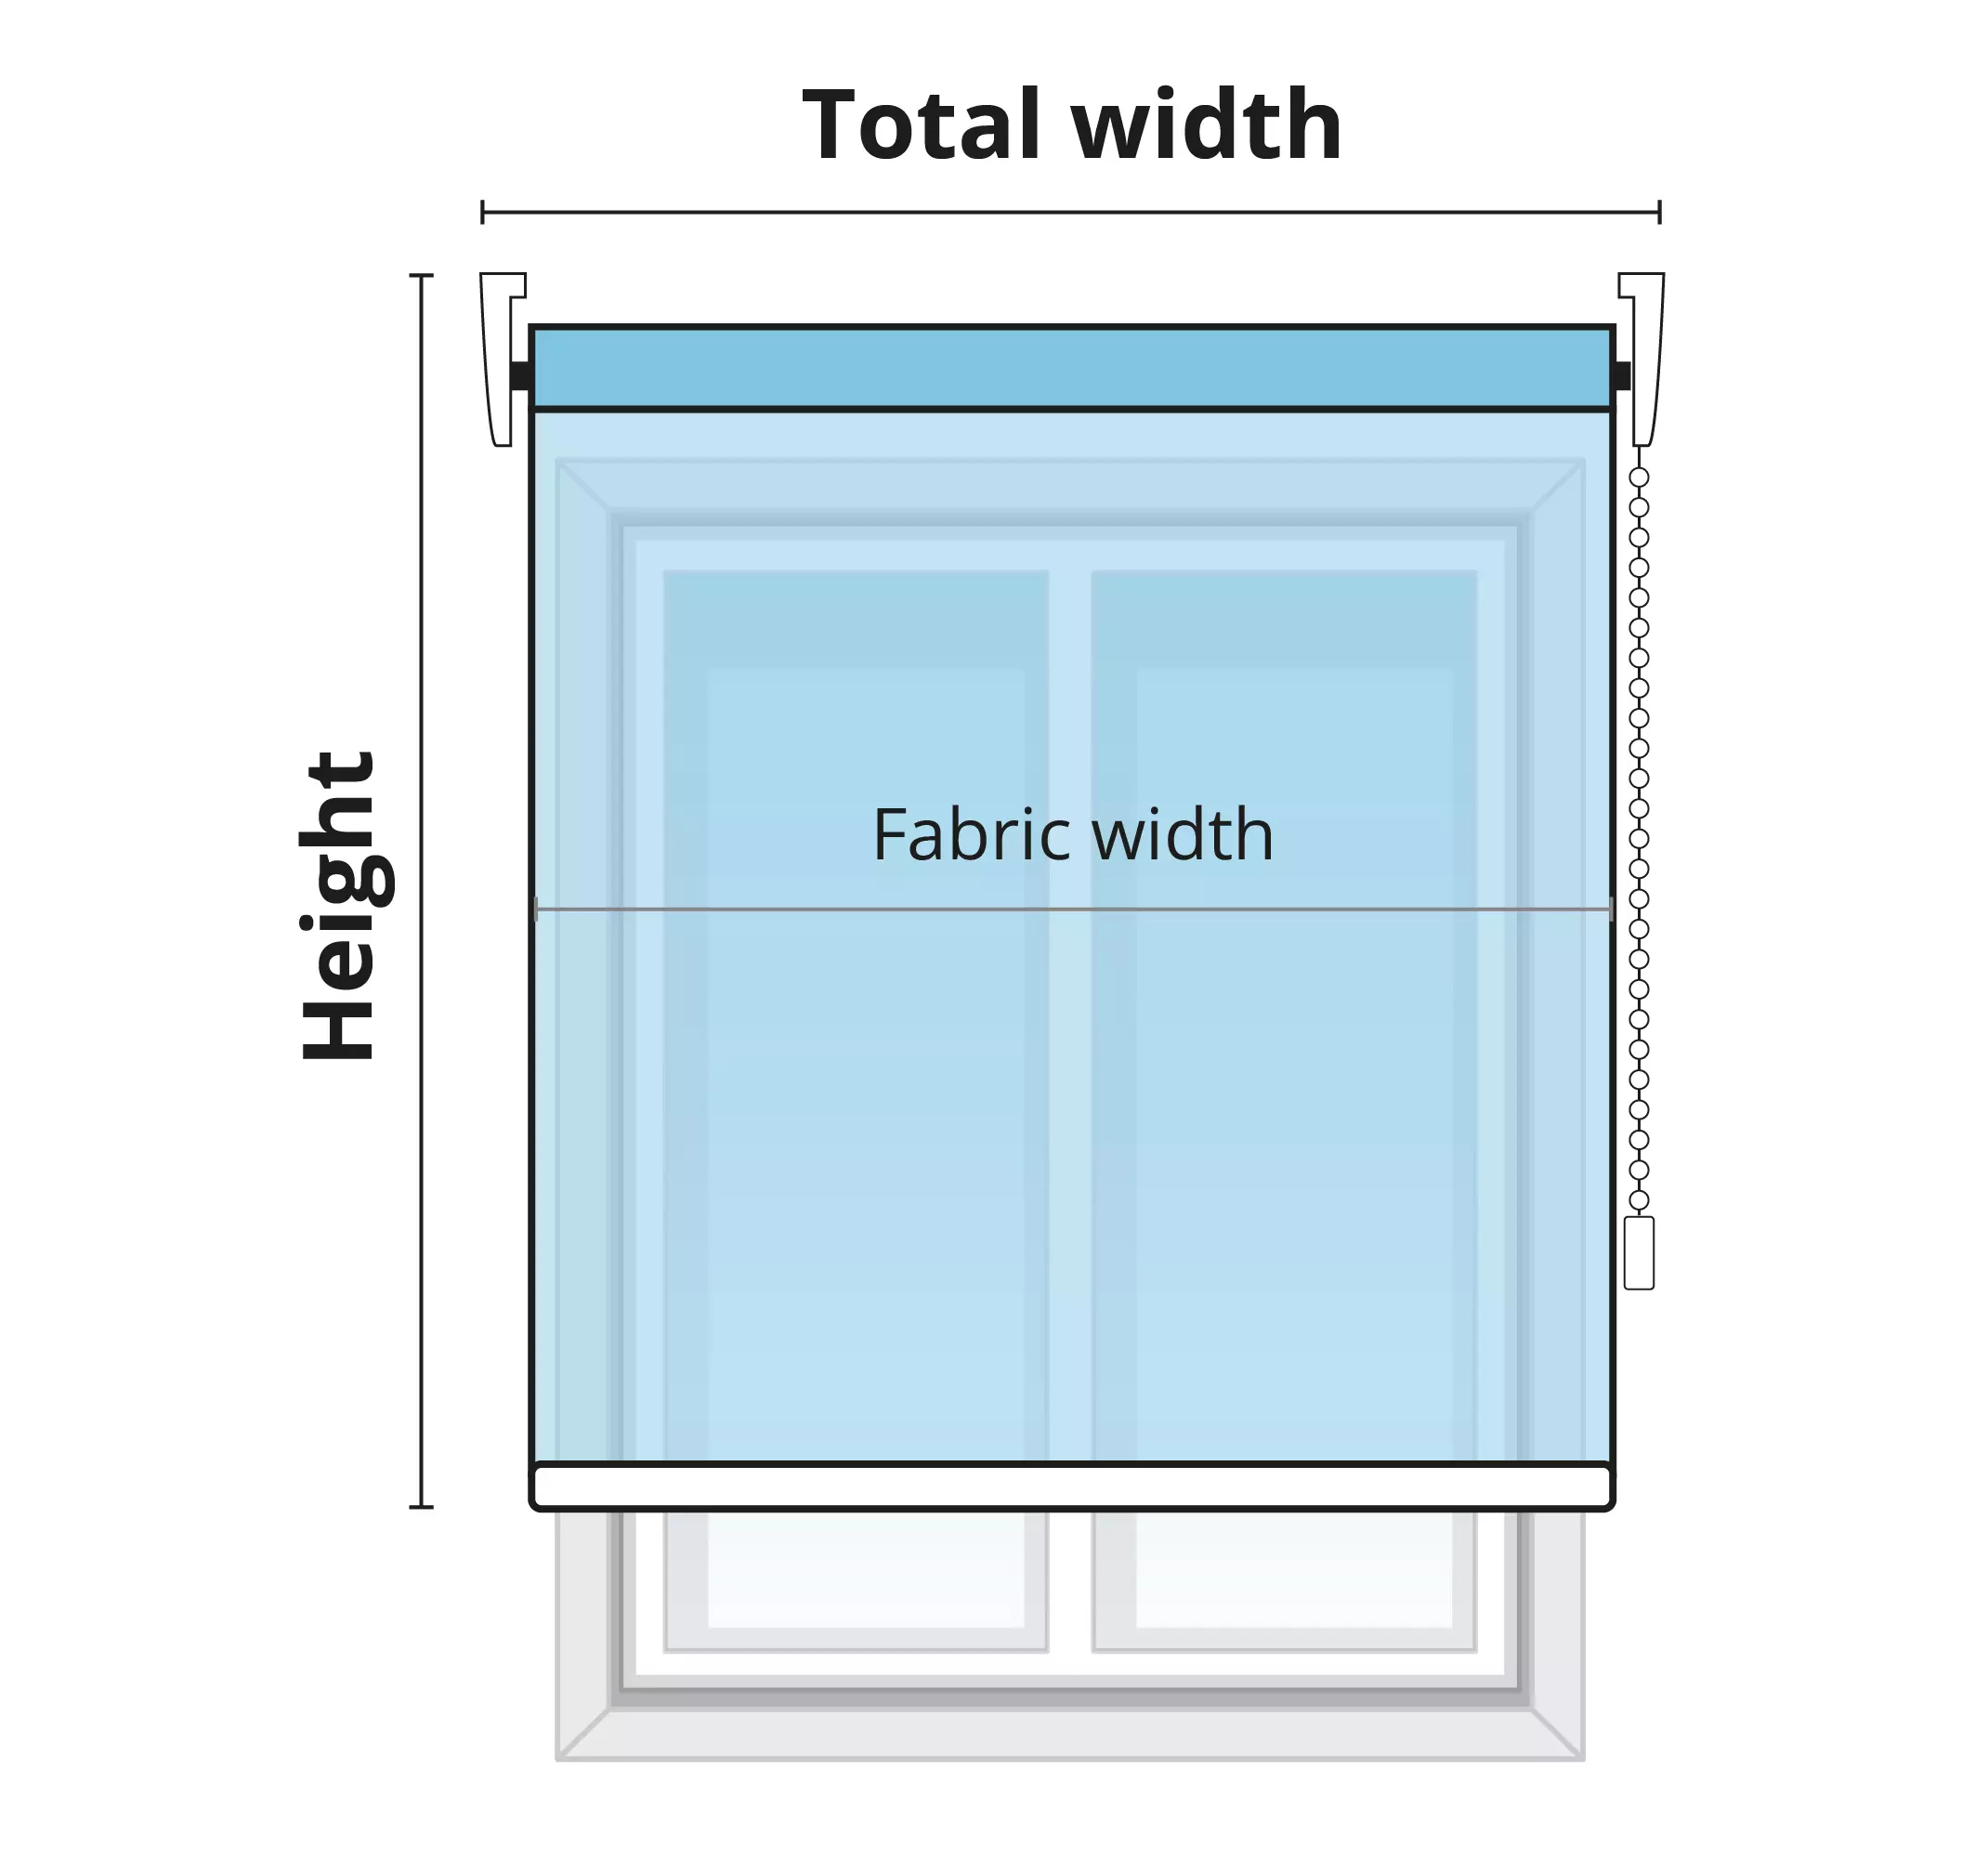
INSTALLATIONBefore installing the blinds, keep in mind that you must use dowels and screws appropriate to the chosen surface and place of instalation. Make sure to leave enough room to avoid the blinds getting in the way of the window handles when the blinds are up. You must also take into account the position of the furniture and radiators. Finally, remember to measure the same distance on both sides of the window:
1. Choose the location and position of the supports and mark with a pencil the points where the two blind supports will be joined with a screw, taking into account the measurements indicated above. With the help of a tape measure, a long ruler or a strip and a spirit level mark both points, so that both supports are completely straight. Leave enough room to open the window when the blind is up.
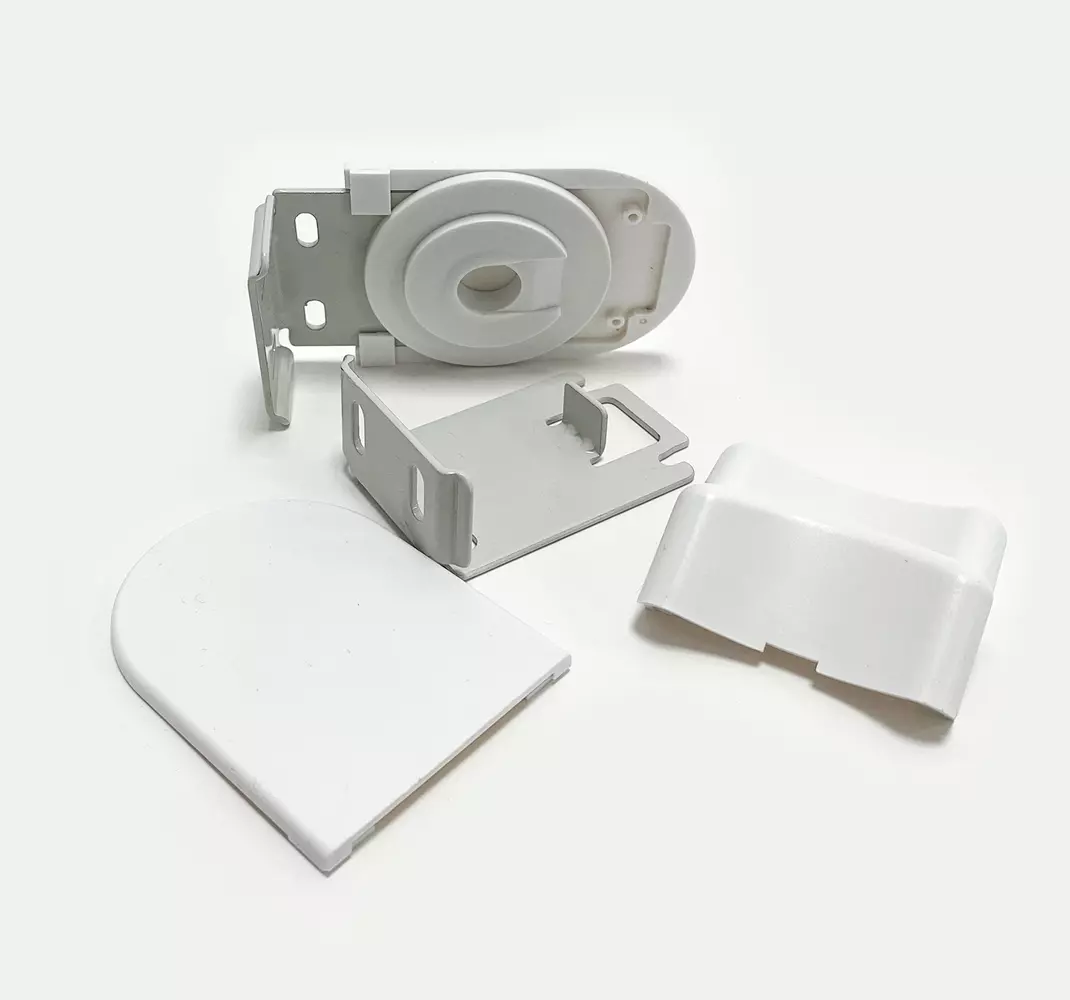
2. Drill the holes for the dowels. Once you have drilled the holes with the corresponding drill bit, insert the plugs into the wall with the help of a hammer and screw the two brackets into the wall, in the corresponding holes.
3. Finally, insert the roller blind into the respective notches of each bracket. This mechanism is very easy to assemble, and allows you to remove or replace a roller blind very quickly, without any effort.
Express delivery within 72 hours to your home address available.


